How to connect Tanganica Pixel to Shopify?

Note: Before installing the Tanganica Pixel in your Shopify store, please make sure that your cookie banner is also correctly installed on your website.
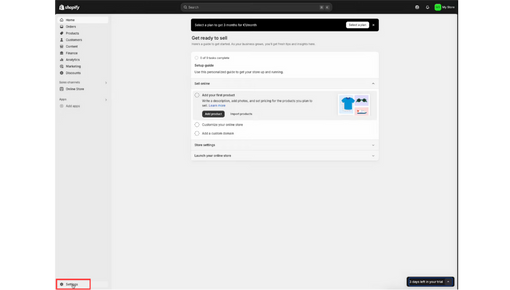
- In your Shopify store administration click on “Settings”
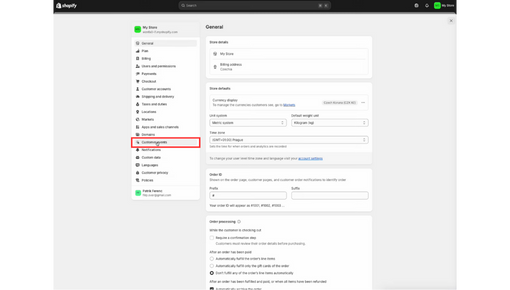
- Then go to “Customer events”
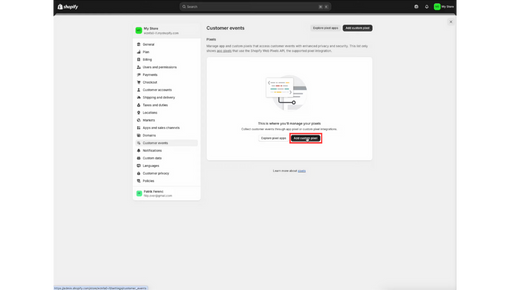
- 3. Click “Add custom pixel”
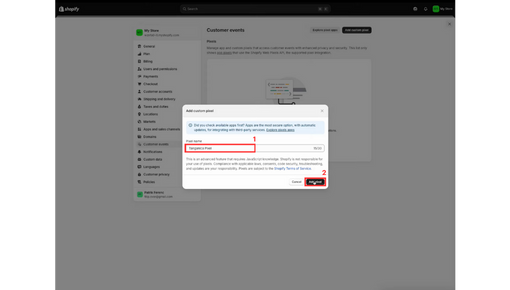
- Name your custom pixel as “Tanganica Pixel” and then click “Add pixel”
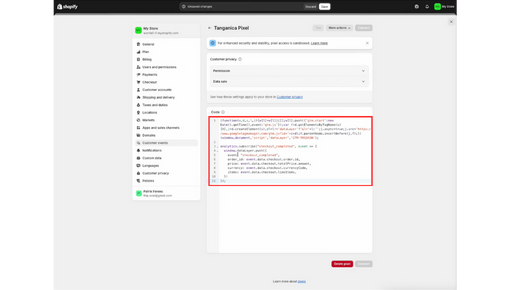
- Delete all the grey comments in the code block section
- Copy the following code below and paste it to the code block in your Shopify
(function(w,d,s,l,i){w[l]=w[l]||[];w[l].push({'gtm.start':new
Date().getTime(),event:'gtm.js'});var
f=d.getElementsByTagName(s)[0],j=d.createElement(s),dl=l!='dataLayer'?'&l='+l:'';j.async=true;j.src='https://www.googletagmanager.co
m/gtm.js?id='+i+dl;f.parentNode.insertBefore(j,f);})(window,document,'script','dataLayer','GTM-TRS5RSN');
analytics.subscribe("checkout_completed", event => {
window.dataLayer.push({
event: "checkout_completed",
order_id: event.data.checkout.order.id,
price: event.data.checkout.totalPrice.amount,
currency: event.data.checkout.currencyCode,
items: event.data.checkout.lineItems,
})
});
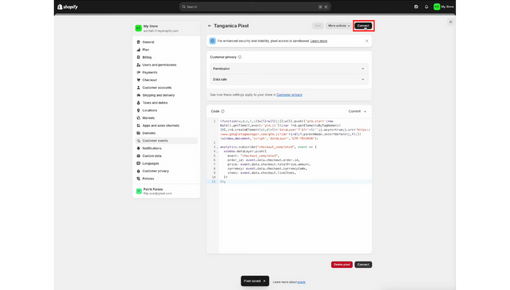
- Click the “Save button” at the top of the page
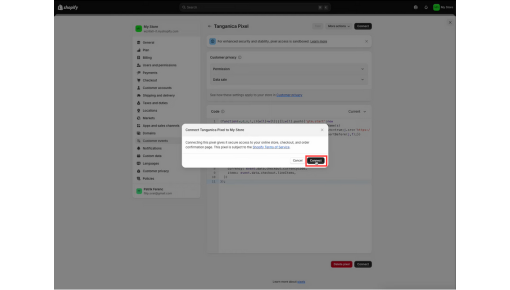
- Then click “Connect”
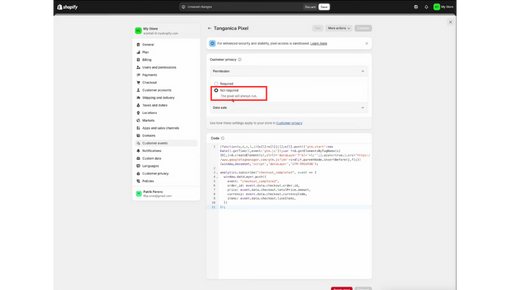
Procedure according to the pictures:

Now, your Tanganica Pixel is correctly set up. 👏
If you encounter any problems while installing the code, don't despair! Below this link you will find a detailed tutorial to help you set everything up correctly and solve any problems.


.svg.png)


